Tutorial - Exporting Individual Layers as Images in CSP
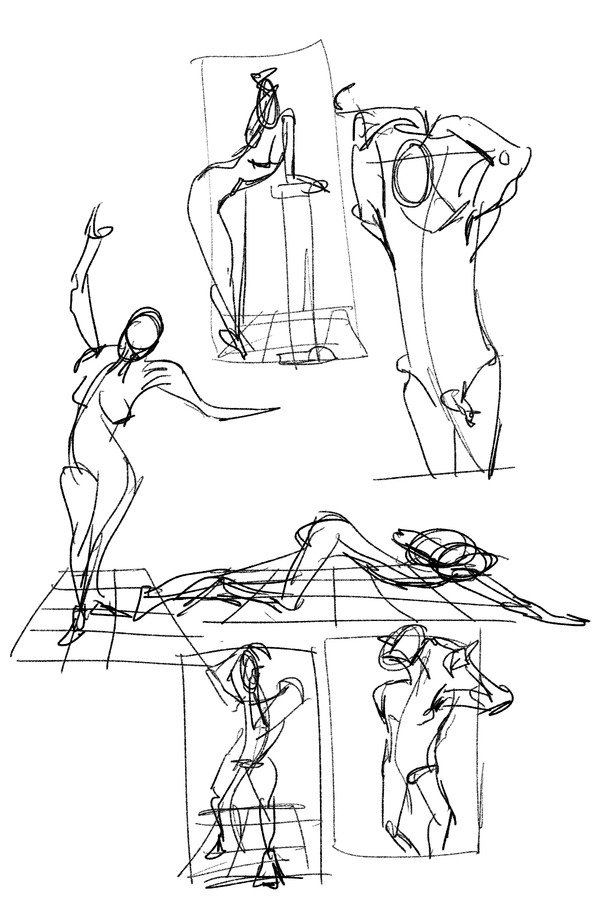
This is something that's pretty niche, admittedly. However, it's already been helping me when it comes to exporting gesture drawings (which I am going to upload more of soon).
You can easily view this here, but I also just wanted to explain things myself.
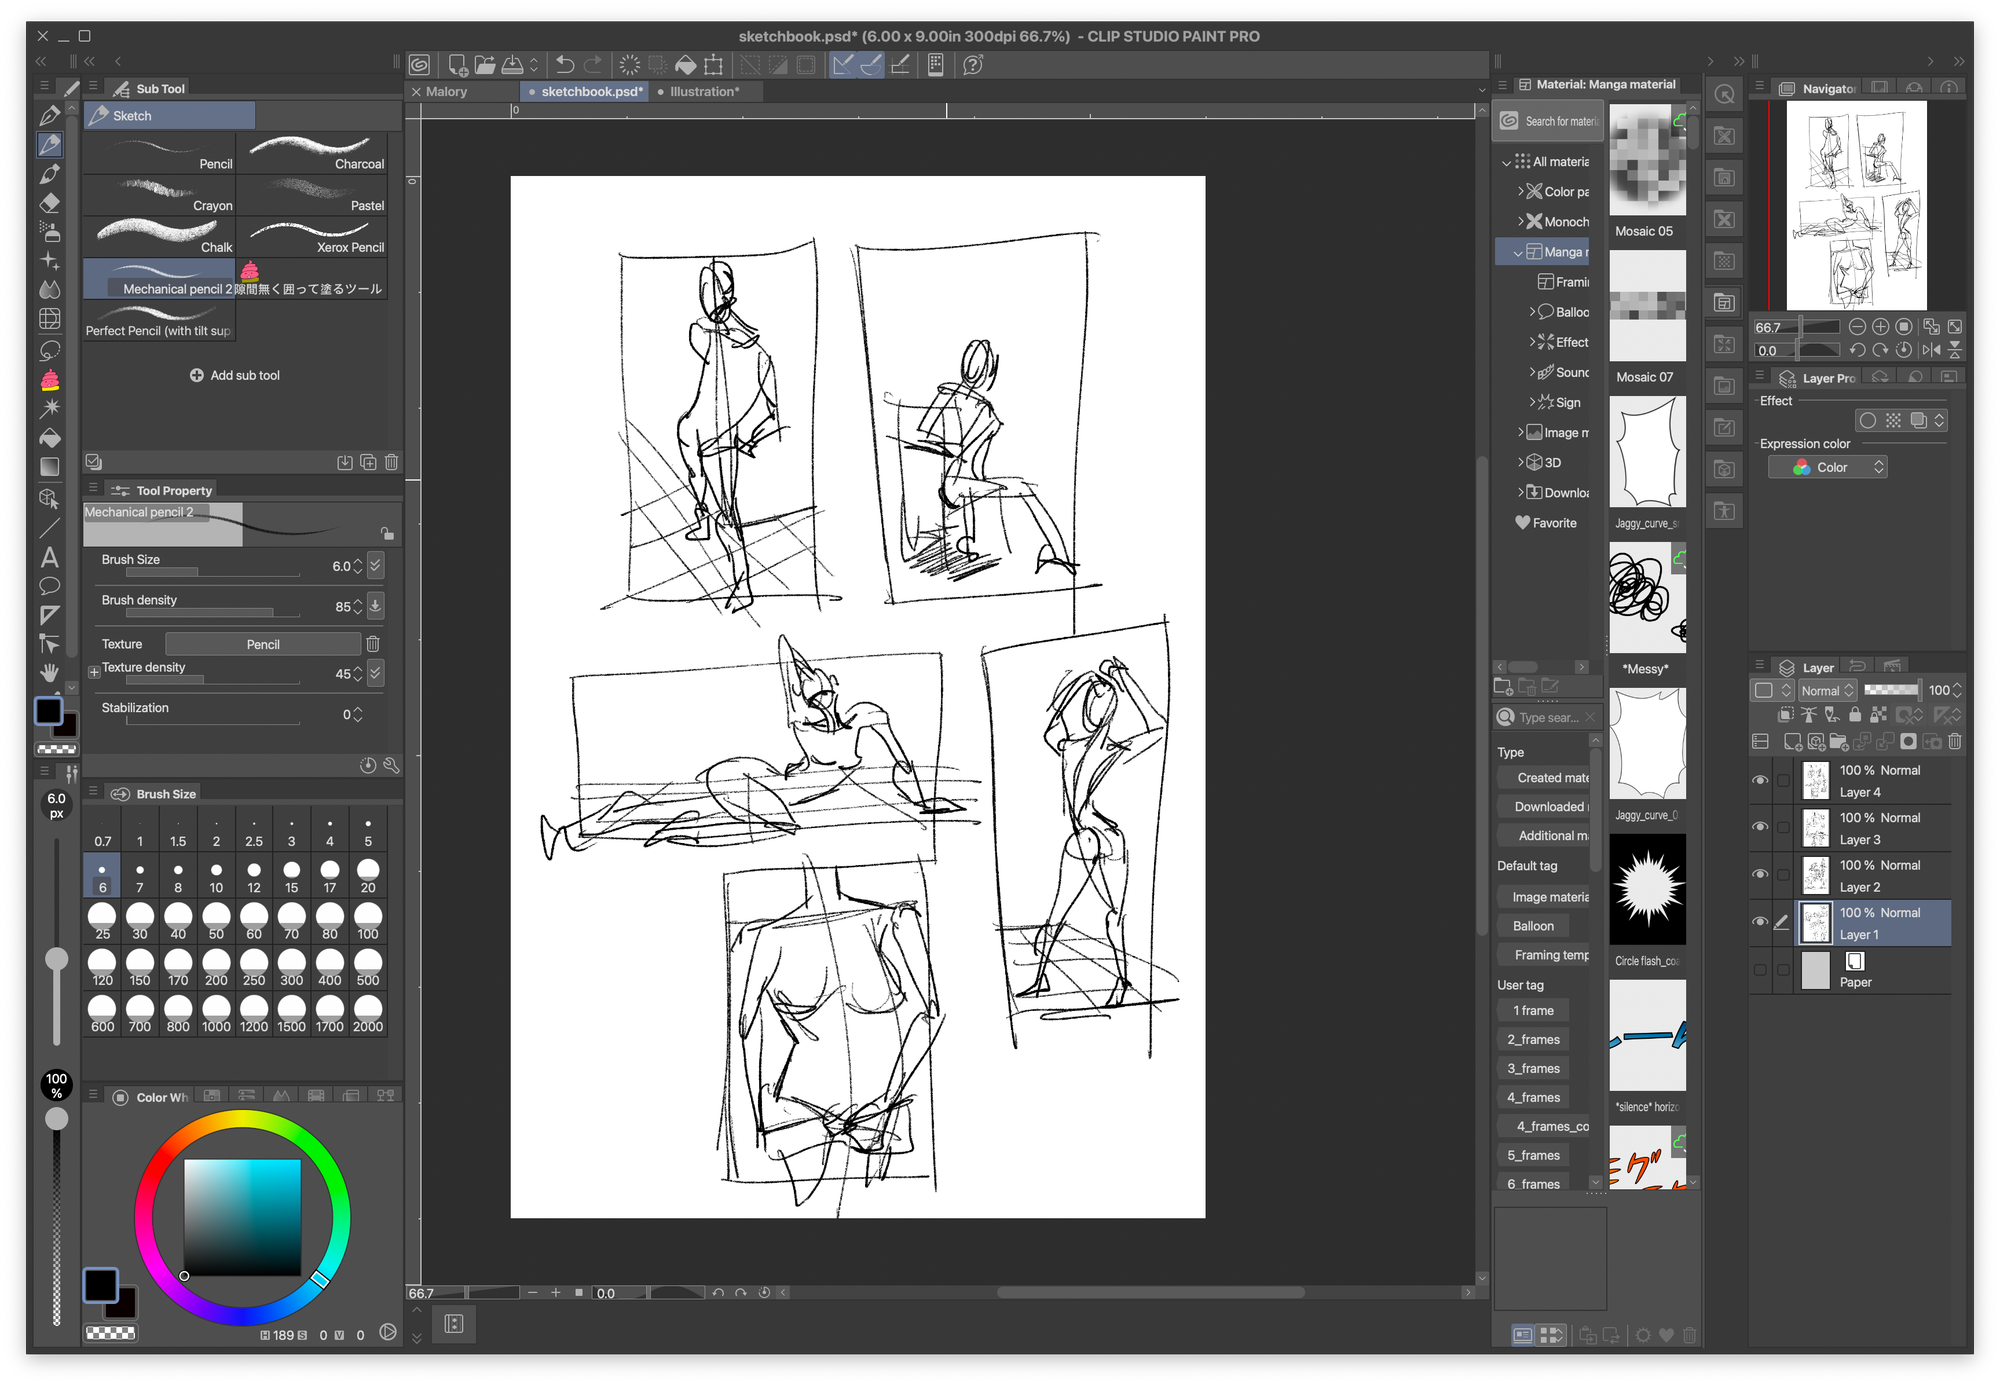
Firstly, considering that the file has to be saved as a PSD, this could work in Photoshop or any other program that exports PSDs. However, any Clip Studio specific functions MAY end up not working anymore as a result.
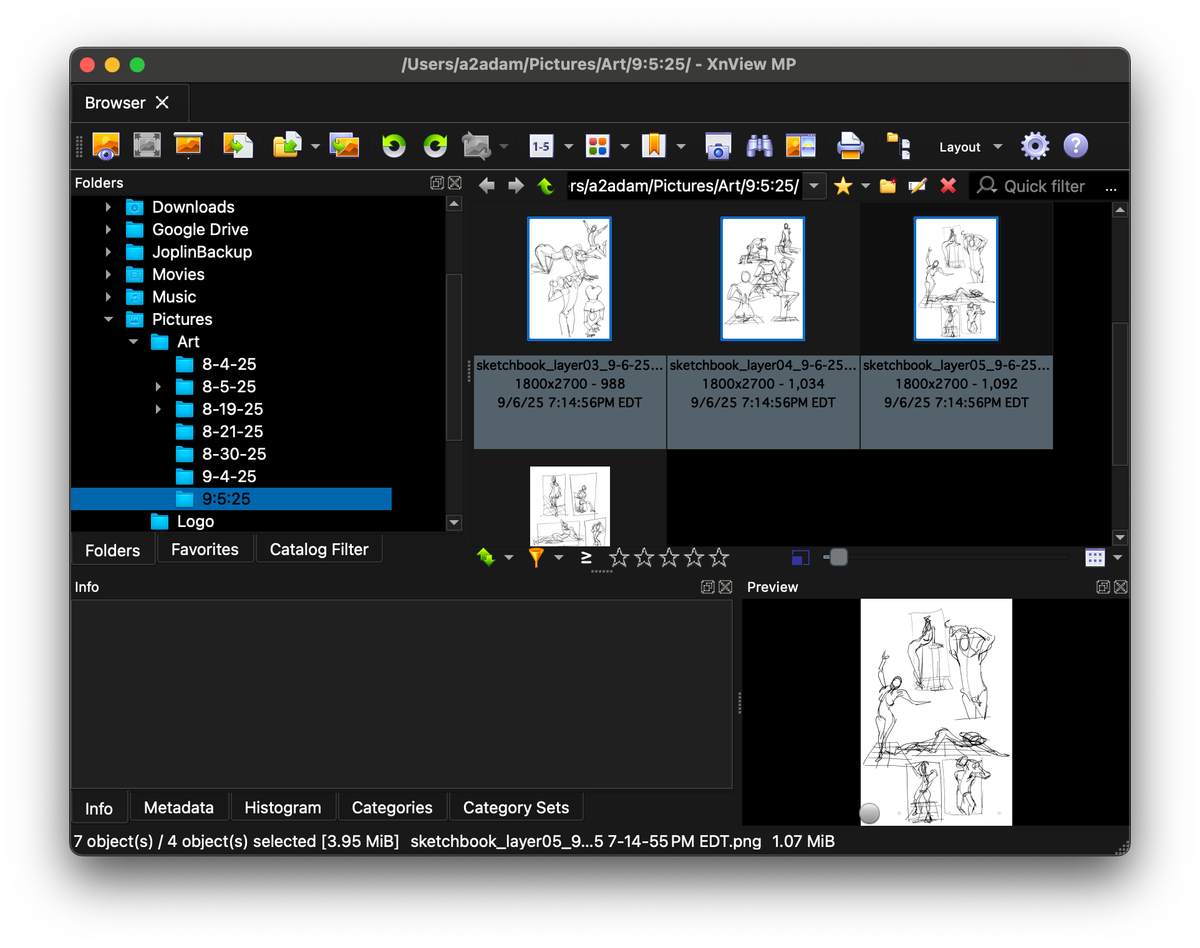
Get XNView afterwards, even if you're not going to use this tutorial. As a file / image viewer, especially on Windows, it's a lifesaver and just works better in general.
Then go to TOOLS > BATCH CONVERT.
Below I'm going to break down the settings in this Batch Convert window:
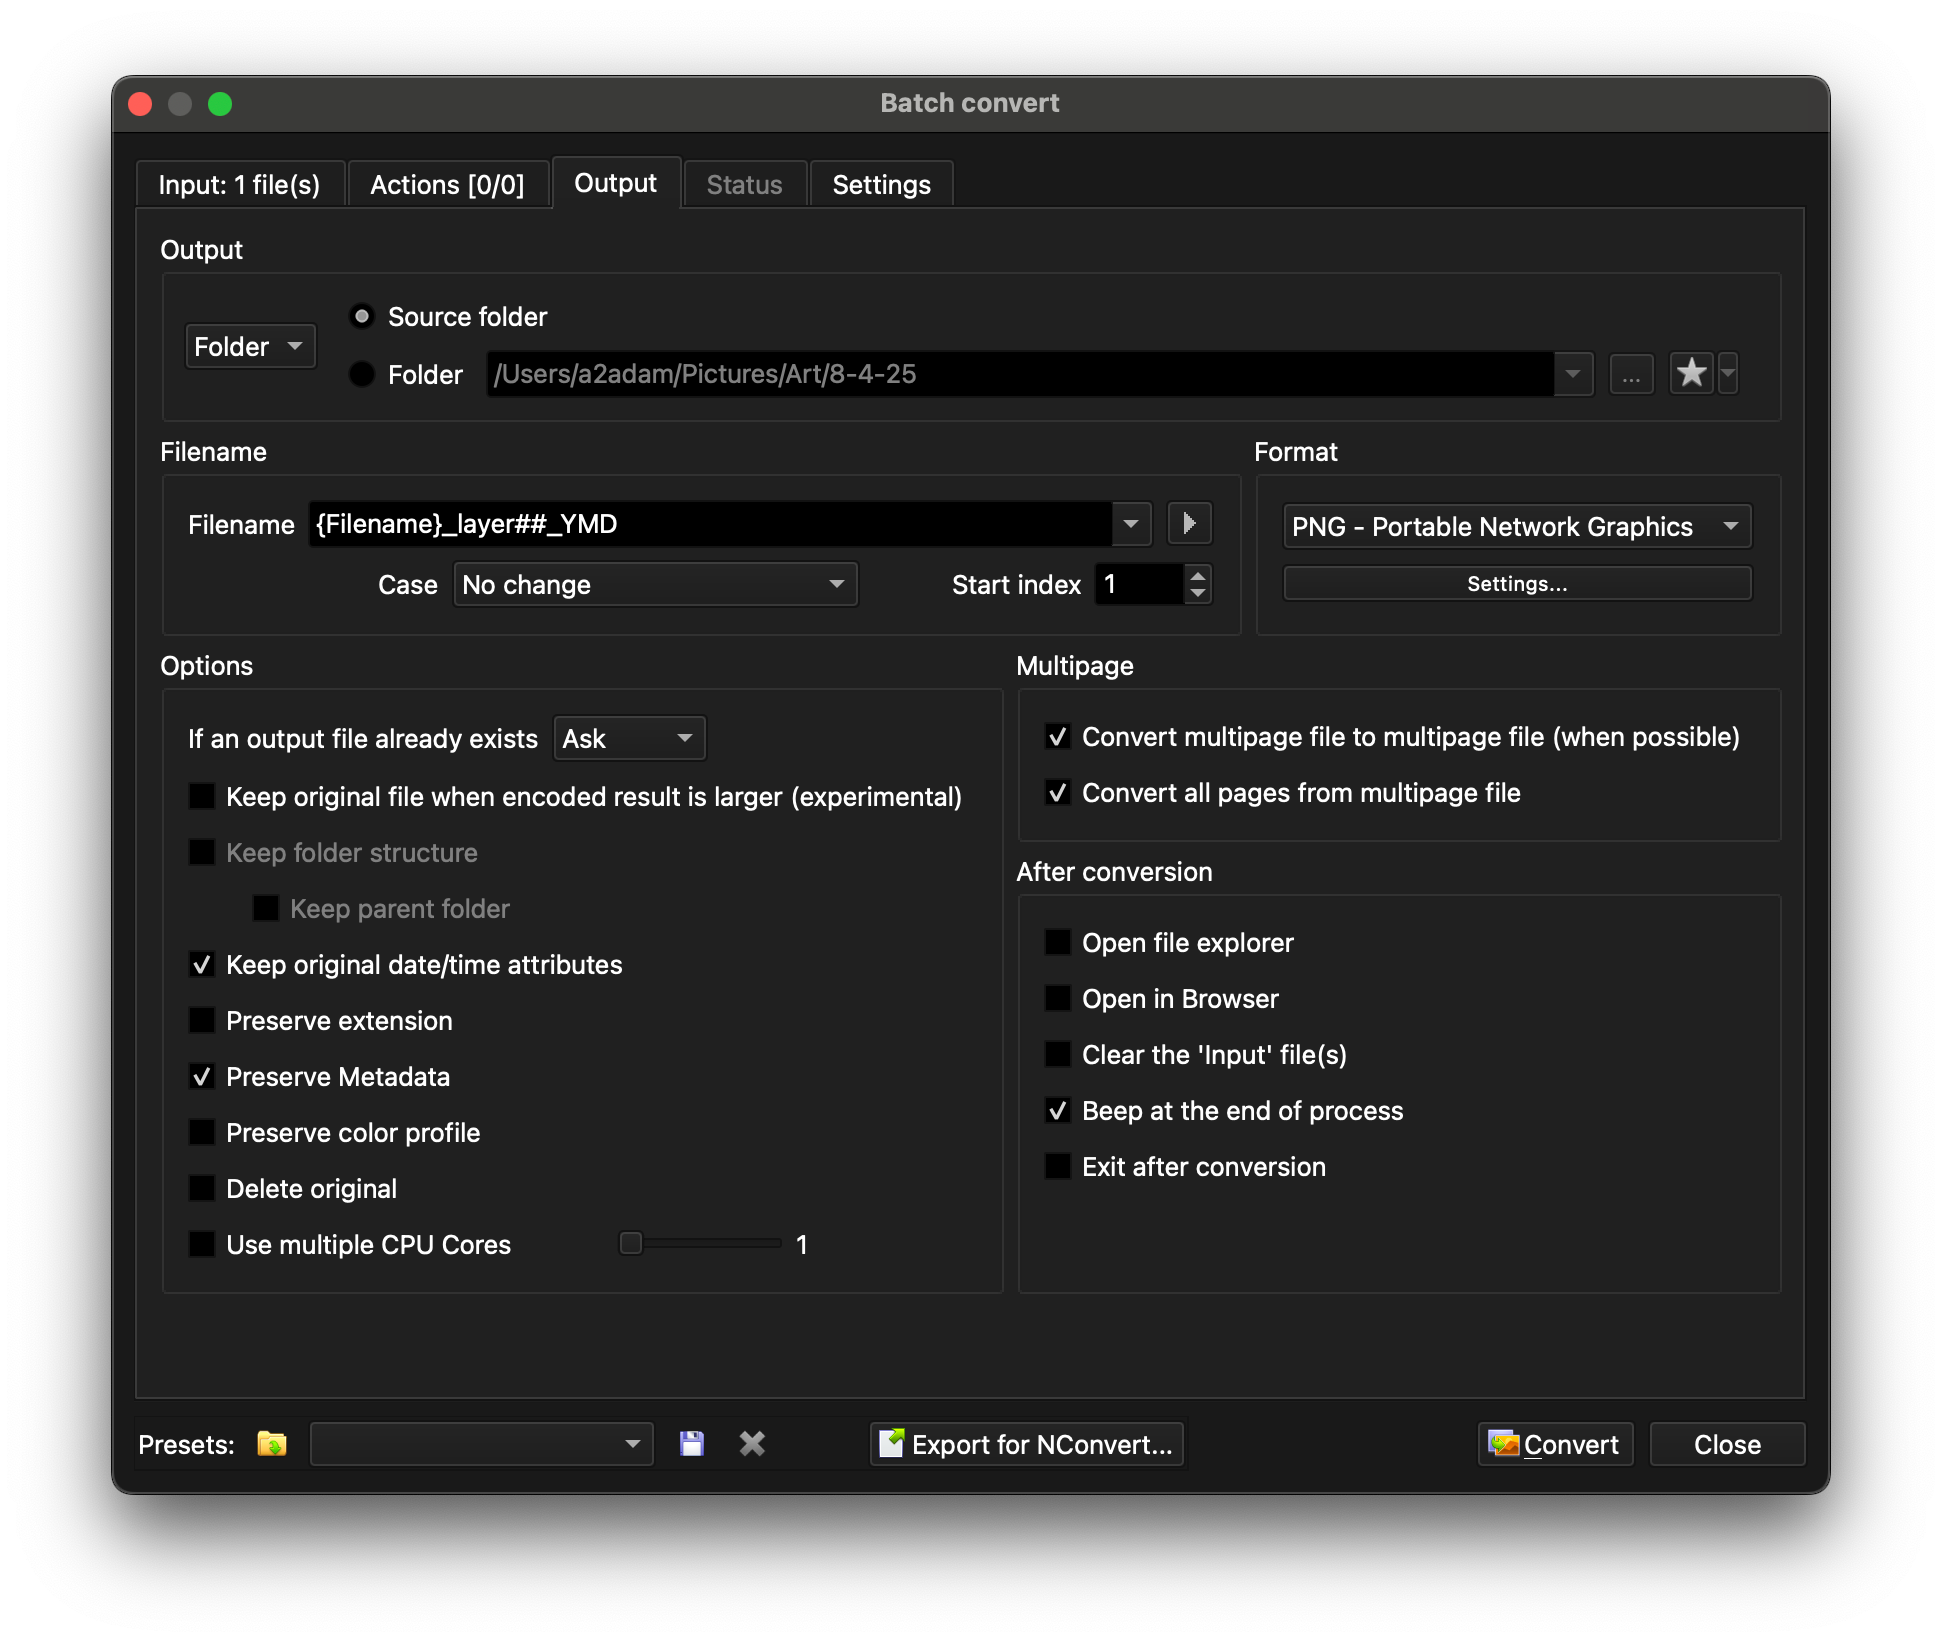
Output
- Selecting Source folder just means that the images that get exported will be in the same folder as the PSD (or whatever else you're converting). If you have a specific place you want your converted artwork to be, check the Folder option and select a path.
Filename
- Filename autogenerates a filename for your images.
{Filename}_layer##_{Creation Date} names your exported files in this formula. So if my PSD is named "sketchbook", the filename for one of the layers would be sketchbook_layer05_9-6-25 7-14-55 PM EDT.png
You can click the right triangle to pull up a list of formulas, feel free to tinker with those.
Everything Else
You can tinker with these as you like. I leave them on since they work for my workflow.
Hopefully this works out, and you can integrate it into your workflow!